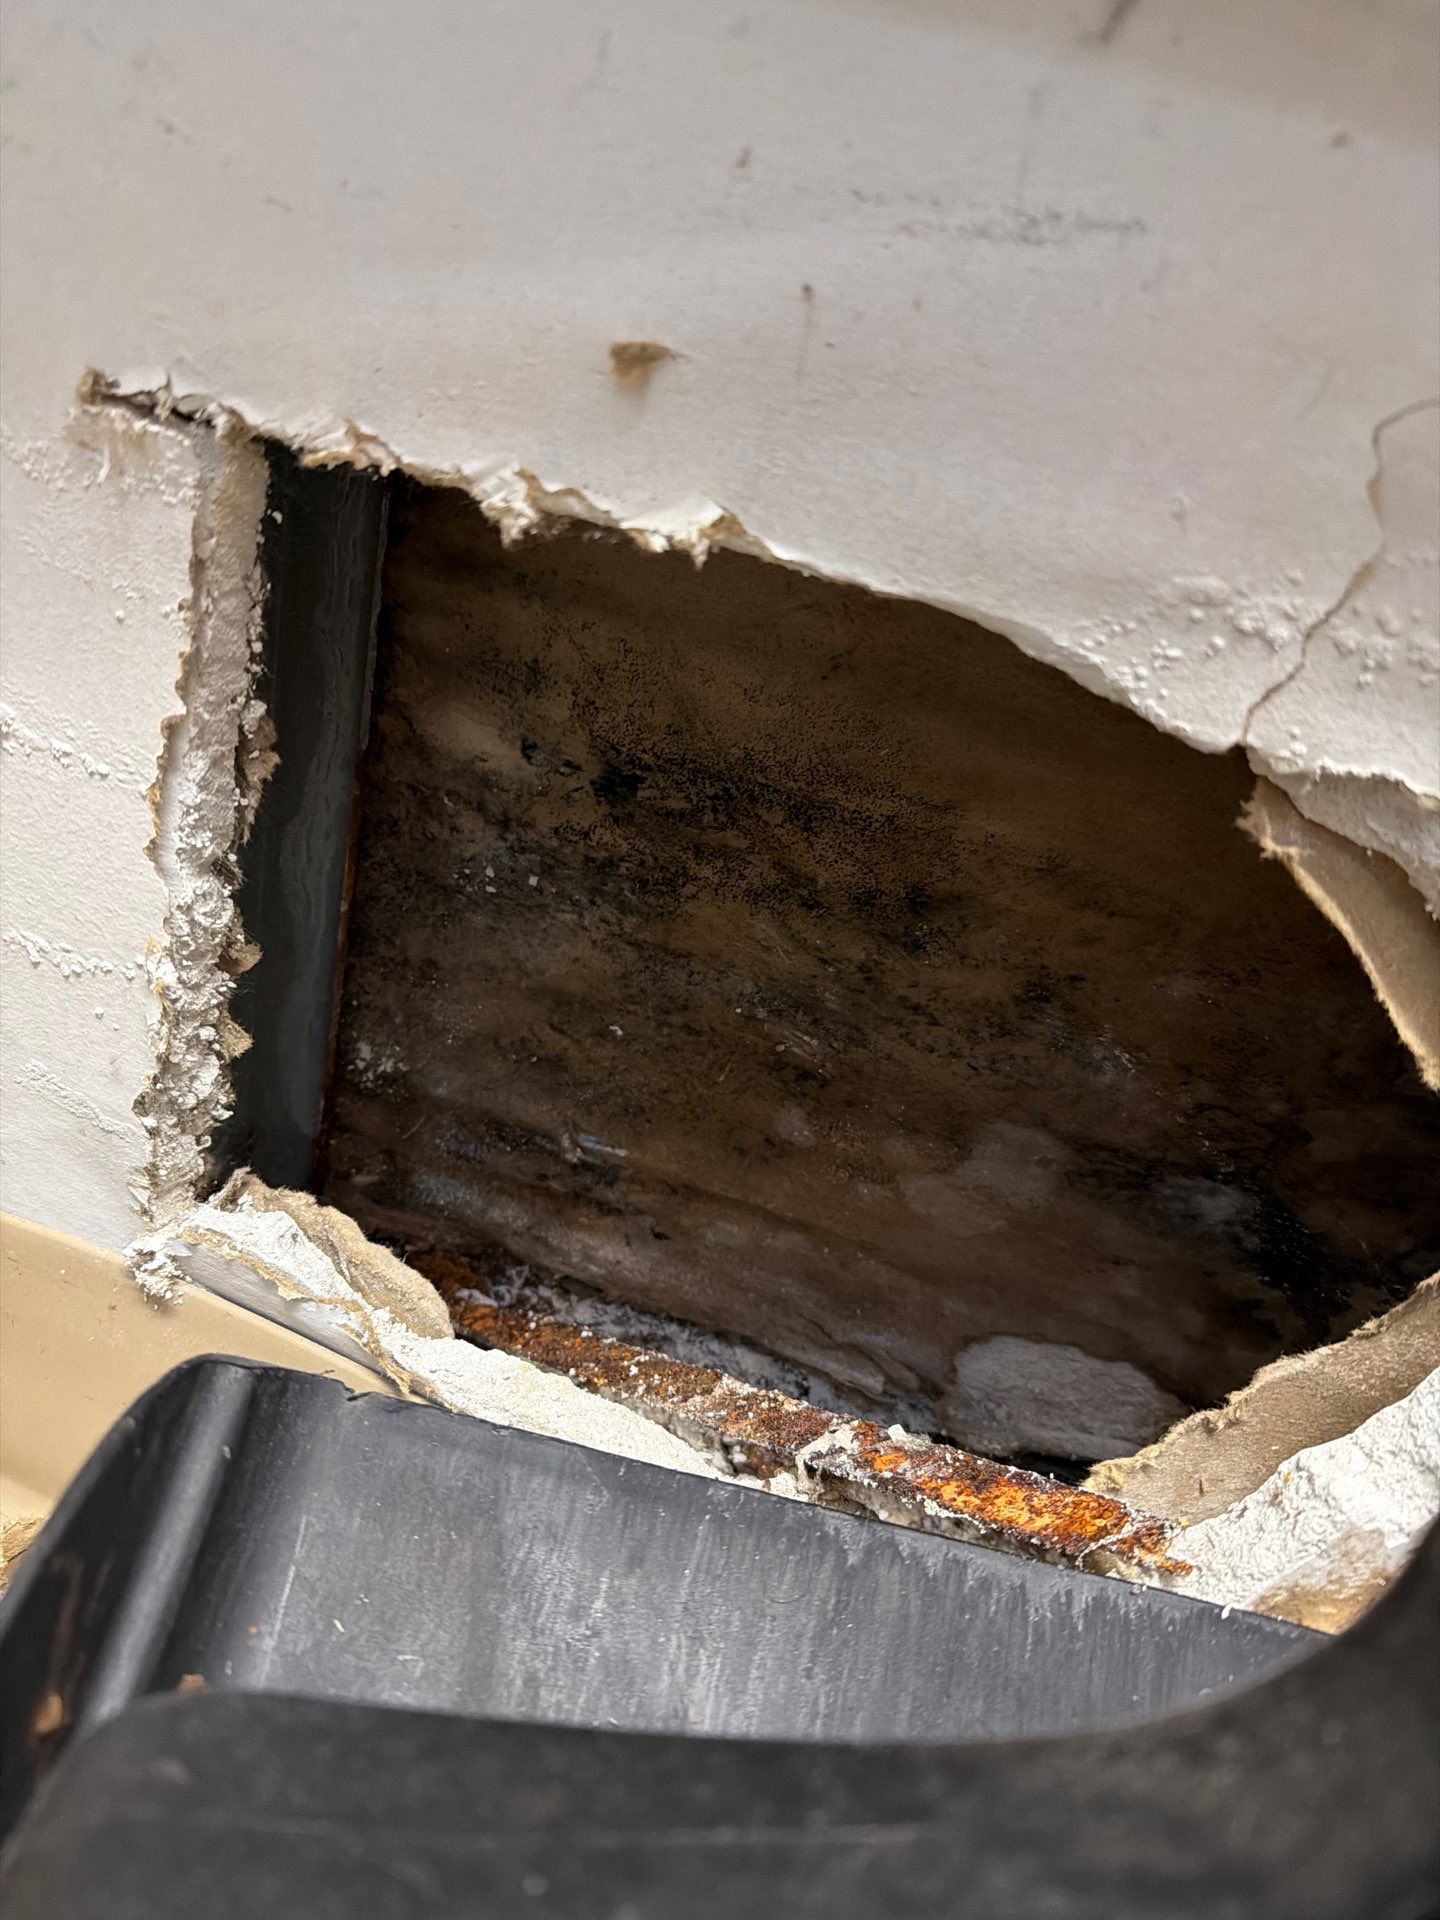
Quick Answer: What to Do Right Now
If you just discovered water behind your refrigerator, shut off the water supply valve (usually behind the fridge or under the kitchen sink), unplug the appliance, and pull it forward carefully. Take photos before you touch anything else. Most refrigerator leaks fall under IICRC Category 1 (clean water) for the first 24 to 48 hours, then degrade to Category 2 as they sit in drywall, cabinet boxes, and subfloor.
Where the Hidden Damage Hides
The visible puddle is rarely the real problem. Water from a slow ice maker line or saddle valve drip travels along the path of least resistance, which usually means under your flooring and into the cavity below.
Common Hidden Damage Zones
- Subfloor and floor joists directly beneath the fridge footprint
- Cabinet toe-kicks and base cabinet sides next to the refrigerator
- Drywall behind the fridge, often wicking up 6 to 18 inches
- Basement ceiling or crawl space below the kitchen
- Hardwood flooring two to four feet beyond the appliance
- Insulation in exterior walls if the supply line runs through one
Warning Signs You Already Have Hidden Damage
- Cupping, crowning, or dark staining on hardwood near the fridge
- Soft or spongy spots in the floor when you stand in front of the appliance
- Peeling baseboards or swollen MDF cabinet kicks
- Musty odor that returns within hours of cleaning
- Water stains on basement ceiling tiles below the kitchen
- Visible mold along grout lines or cabinet interiors
- Condensation on the inside of nearby cabinet doors
- Tile grout that has darkened or developed hairline cracks
How Windermere Water Restoration Diagnoses the Full Extent
You cannot fix what you cannot measure. Our Windermere technicians arrive with moisture meters, thermal imaging cameras, and hygrometers to map the actual wet footprint, not just the visible one. A surface that feels dry to your hand can still read 30% moisture content on a pin meter, which is well above the 15% threshold where wood begins to fail and mold begins to grow.
Standard Diagnostic Steps
- Thermal scan of floor, walls, and ceiling below
- Pin and pinless moisture readings in a grid pattern
- Cabinet removal or inspection ports where readings spike
- Subfloor probe through register cuts or appliance openings
- Air quality baseline if leak is older than 72 hours
For leaks that have been active for weeks, we often coordinate with our hidden leak detection process to confirm the source is the supply line and not a secondary plumbing issue inside the wall.
What You Should Do in the Next Hour
- Shut the supply valve and unplug the fridge
- Photograph everything, including the line itself
- Do not run fans yet if mold is visible (you will spread spores)
- Call your insurance carrier to open a claim number
- Call a certified restoration company for a free moisture inspection
The Mold Risk Window
Mold can start growing on wet cellulose materials within 24 to 48 hours. Refrigerator leaks are uniquely dangerous because they often run for weeks before discovery, which means mold is frequently already present when we arrive.
When Mold Remediation Becomes Part of the Job
- Visible growth on cabinet interiors or drywall
- Elevated air spore counts on baseline testing
- Subfloor moisture readings above 20% for more than 5 days
- Musty odor persisting after surface drying
If we find growth during inspection, we shift into containment mode and follow IICRC S520 protocols. You can see how this transitions on our water damage restoration service page.
Repair Cost Ranges in Windermere
Costs vary based on how long the leak ran, what materials got wet, and whether mold remediation is needed. The table below reflects typical Windermere project ranges for refrigerator line leaks.
| Scope | Typical Cost Range | Timeline |
|---|---|---|
| Mitigation and drying only (caught early) | $1,200 to $2,800 | 3 to 5 days |
| Subfloor section replacement | $1,800 to $4,500 | 5 to 8 days |
| Hardwood refinish or partial replace | $2,500 to $6,500 | 7 to 14 days |
| Cabinet base rebuild plus drying | $3,000 to $7,000 | 10 to 21 days |
| Full kitchen with mold remediation | $6,500 to $18,000 | 3 to 6 weeks |
Preventing the Next Leak
Once your kitchen is dry and rebuilt, a few small upgrades dramatically reduce the odds of a repeat event. Replace any saddle valve with a quarter-turn ball valve. Swap plastic supply lines for braided stainless steel rated for ice maker use. Install a simple battery-powered leak sensor behind the fridge that alarms before water reaches the subfloor. Pull the refrigerator out once a year and inspect the fitting for green corrosion or white mineral crust.
Why Refrigerator Lines Fail in the First Place
Understanding the failure mode helps you prevent the next one. The plastic push-fit fittings used on many ice maker lines become brittle after about 5 to 7 years. Saddle valves, which pierce the cold water supply with a small needle, are notorious for slow weeping that you never see until damage is severe. Copper lines kink during installation and develop pinhole leaks at the bend. In Windermere homes with harder water, mineral buildup at the inlet valve accelerates corrosion.
Highest Risk Components
- Saddle valves more than 10 years old
- Plastic compression fittings on braided lines
- Copper lines crimped tight against the wall behind the fridge
- Inlet solenoid valves on the back of the refrigerator itself
Insurance: What Usually Gets Covered
Most homeowners policies in Windermere cover sudden and accidental discharge from an appliance supply line. A line that ruptured last Tuesday is generally covered. A line that has been seeping for eight months is often denied as long-term leak or maintenance.
What Adjusters Look For
- Date of discovery vs. visible signs of age (rust, mineral buildup)
- Moisture mapping documentation from a certified restorer
- Photos of the failed component before disposal
- Itemized scope using Xactimate line items
- Statements from the homeowner about when symptoms first appeared
We document every job to insurance carrier standards. If you want a deeper breakdown of how these claims are priced, our complete water damage cost breakdown walks through line-item logic. Keep the failed fitting in a sealed bag for the adjuster, since carriers sometimes request physical inspection of the component before approving the full claim.